Yayoi Kusama Inspired Halloween Pumpkins!
A Fun and Easy Art Inspired Holiday Activity
I realized recently that I haven’t had a week that wasn’t punctuated by doctors’ appointments or medical testing since almost July, and kittens, it’s nearly NOVEMBER. Sheeeeeesh. I only bring this up because I think it’s one of the reasons I've been feeling low energy and admittedly a bit frustrated in my art practice. I simply haven’t had as much energy to dedicate to studio time. In times like these it’s extra important to lean into my artist’s eyes: and look for the beauty and creative moments that I can glean that use less of that energy reserve!
Today I’m sharing two recent projects that have been bringing my inner creative child SO much joy!
The Inspiration:
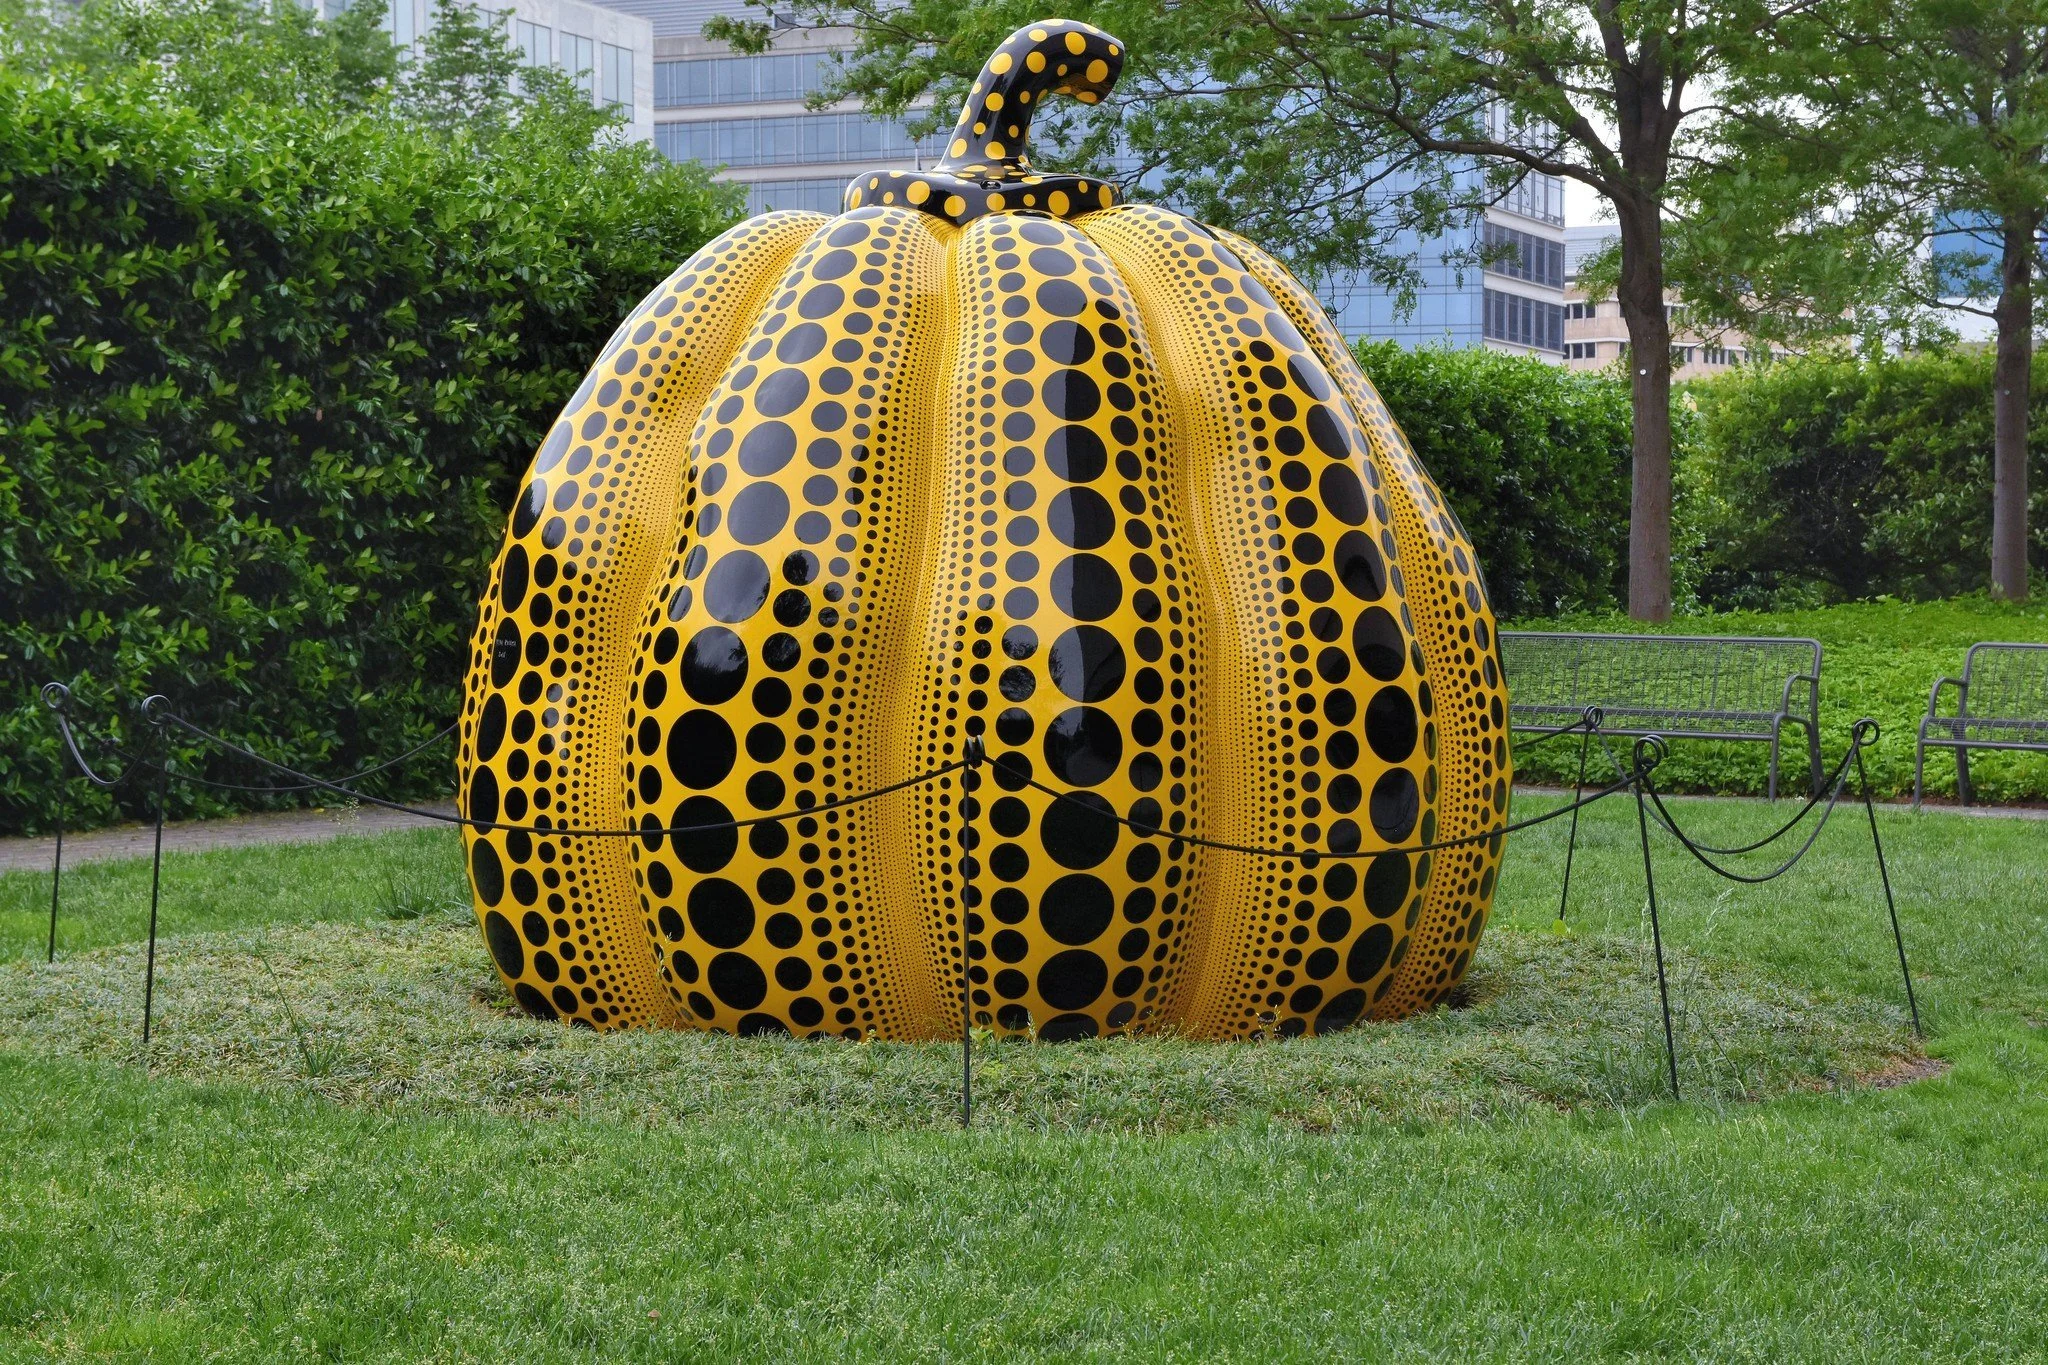
One of Yayoi Kusma’s large Pumpkin Sculptures
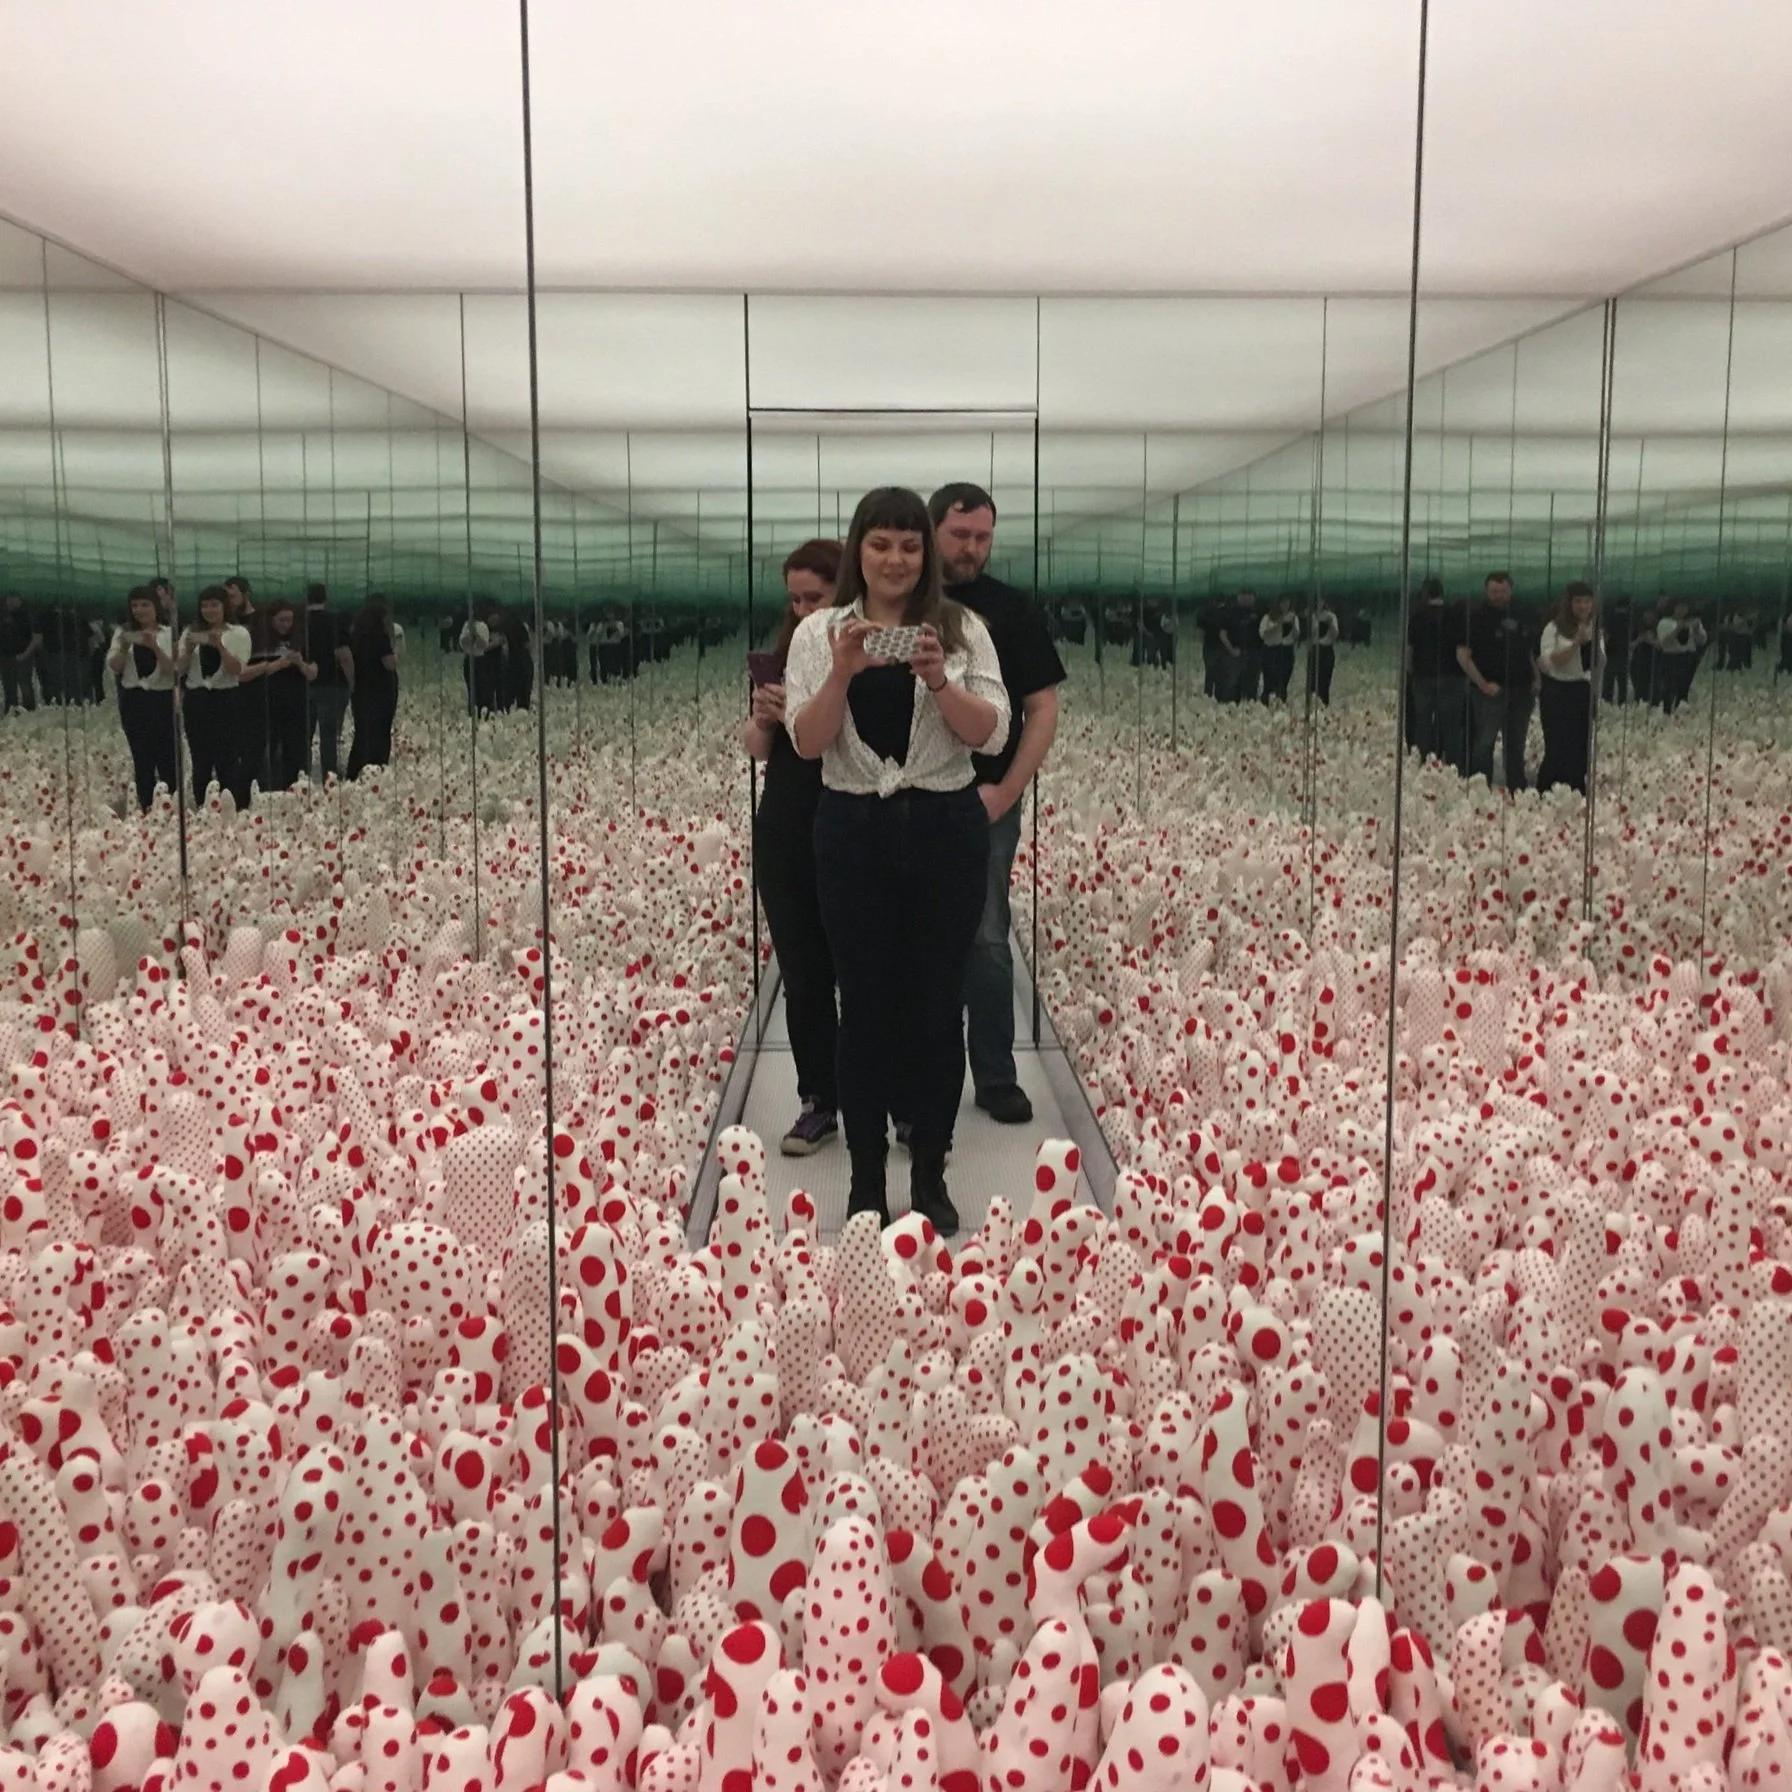
Me, my partner, and bestie in one of Yayoi Kusama’s Infinity Rooms at the Cleveland Museum of Art in 2018
I was lucky enough to experience the creations of Yayoi Kusama in pop up exhibitions locally at The Toledo Museum of Art and The Cleveland Museum of Art in recent years.
Yayoi Kusama is an art ICON. Her work is inspired by her own personal mental health journey, often covering objects in polka dots and creating “infinity rooms” that share a glimpse of what her hallucinations may be like to experience with her audience. While there is so much depth to her work - experiencing her creations often brings so much joy. She is able to alchemize beauty from her own challenges. I find that incredibly inspiring. May we all be inspired to seek and create beauty in the same way!
According to My Modern Met : “Rooted in her childhood, Kusama's love of pumpkins has significantly shaped her practice for over 70 years. Whether cropping up as detailed drawings, public sculptures, or immersive installations, Kusama's stylized interpretations of the humble squash have become some of her most well-known works—and are among contemporary art‘s most iconic masterpieces.”
Curious about Yayoi Kusamas Pumpkins? You can see a few of her paintings and read more about the works in this article by My Art Broker.
Supplies:
I want to be able to use these pumpkins as holiday decorations for years to come - So I chose to buy sturdy pumpkin decorations that I found at Target for my base. You could always use live pumpkins - but if you do please be mindful of the paint you use in case your local animals choose to snack on your creations! Feel free to use a base color for your pumpkins that matches your home and holiday color schemes! I’m forever a lover of graphic black and white - and it really vibes with the white trim on my house - so I chose to make the project a little easier by buying pumpkins that were already a lovely slightly off white color. Make sure to choose pumpkins that have pronounced vertical indentations: called “ribs”, as those will inform the design! Also: double check that your paint pens dry down to a waterproof finish and will stand up to the elements.
Here’s what I used:
Process:
I started in the “ribs” of the pumpkins - placing small dots on either side of the line of indentation and creating larger dots towards the center of these sections where the pumpkin grows larger.
As I painted larger rows of dots I made them get a little smaller and taper towards the top and bottom of the pumpkin and for the largest dots I tried to make them fit right down the center, with even spacing on either side. I wanted the largest dots to all be about the same size on each pumpkin - so some of the larger partitions had more space between the smaller dots and that larger row.
Don’t fret about your dots being perfectly spaced or round! When everything is finished - it will look great! (Fun fact : when we look at patterns of handmade circles our eyes often perceive the circles as more perfect than they appear on their own! Our brains are amazing!)
After I started, I decided to paint all the smaller dots first on every pumpkin. Then I then moved on to the larger circles. I had a few areas on these pumpkins that weren’t completely symmetrical or where they had what I would call partial “ribs” - and I wanted to see where I had room to work with the shape of the pumpkin and still have all of most of my larger dots be a similar size.
You can see a video below of me painting some of the dots below:
The Finished Product:
My Yayoi Kusama Inspired Halloween Pumpkin Decorations!
Oh, and one more thing: peep that little bit of purple paint above the pumpkins; WE PAINTED OUR HOUSE PURPLE! Why wouldn’t your artsy auntie have a purple house?! We’re so happy with how it turned out!
We chose Sherwin Williams 6265: Quixotic Plum. I think it’s the perfect not too bright, not too dark, and just muted enough purple to be fun and still look classic on our 100-year-old Dutch Colonial home! Hilariously named, quixotic means: “exceedingly idealistic; unrealistic and impractical.” You know what? I like that. I think there are a lot of people out there that may think living artfully and embracing more color and creativity in our lives for the joy of it is quixotic. I think they should give it a try!


